
Unseen Diplomacy is back—bigger and better than ever! As a secret agent in a world on the brink, it's up to you and your team to stop evil-doers from destroying the planet. Tackle a thrilling new campaign filled with fresh locations, missions, objectives, and gadgets. Use Intel to uncover the enemy's plot, manage your agents, and leap into action in a real-life VR obstacle course that turns your room into a spy playground. Run, roll, sneak, and hack your way to victory—don’t just play as a spy, be one!


Our innovative environmental redirection system creates a holodeck-like experience, allowing you to walk around your real-world room at your own pace and with no need for fake locomotion. As you explore the game subtly alters the virtual environment behind your back, enabling you to keep moving and discovering levels that are much larger than the physical space you're actually in.
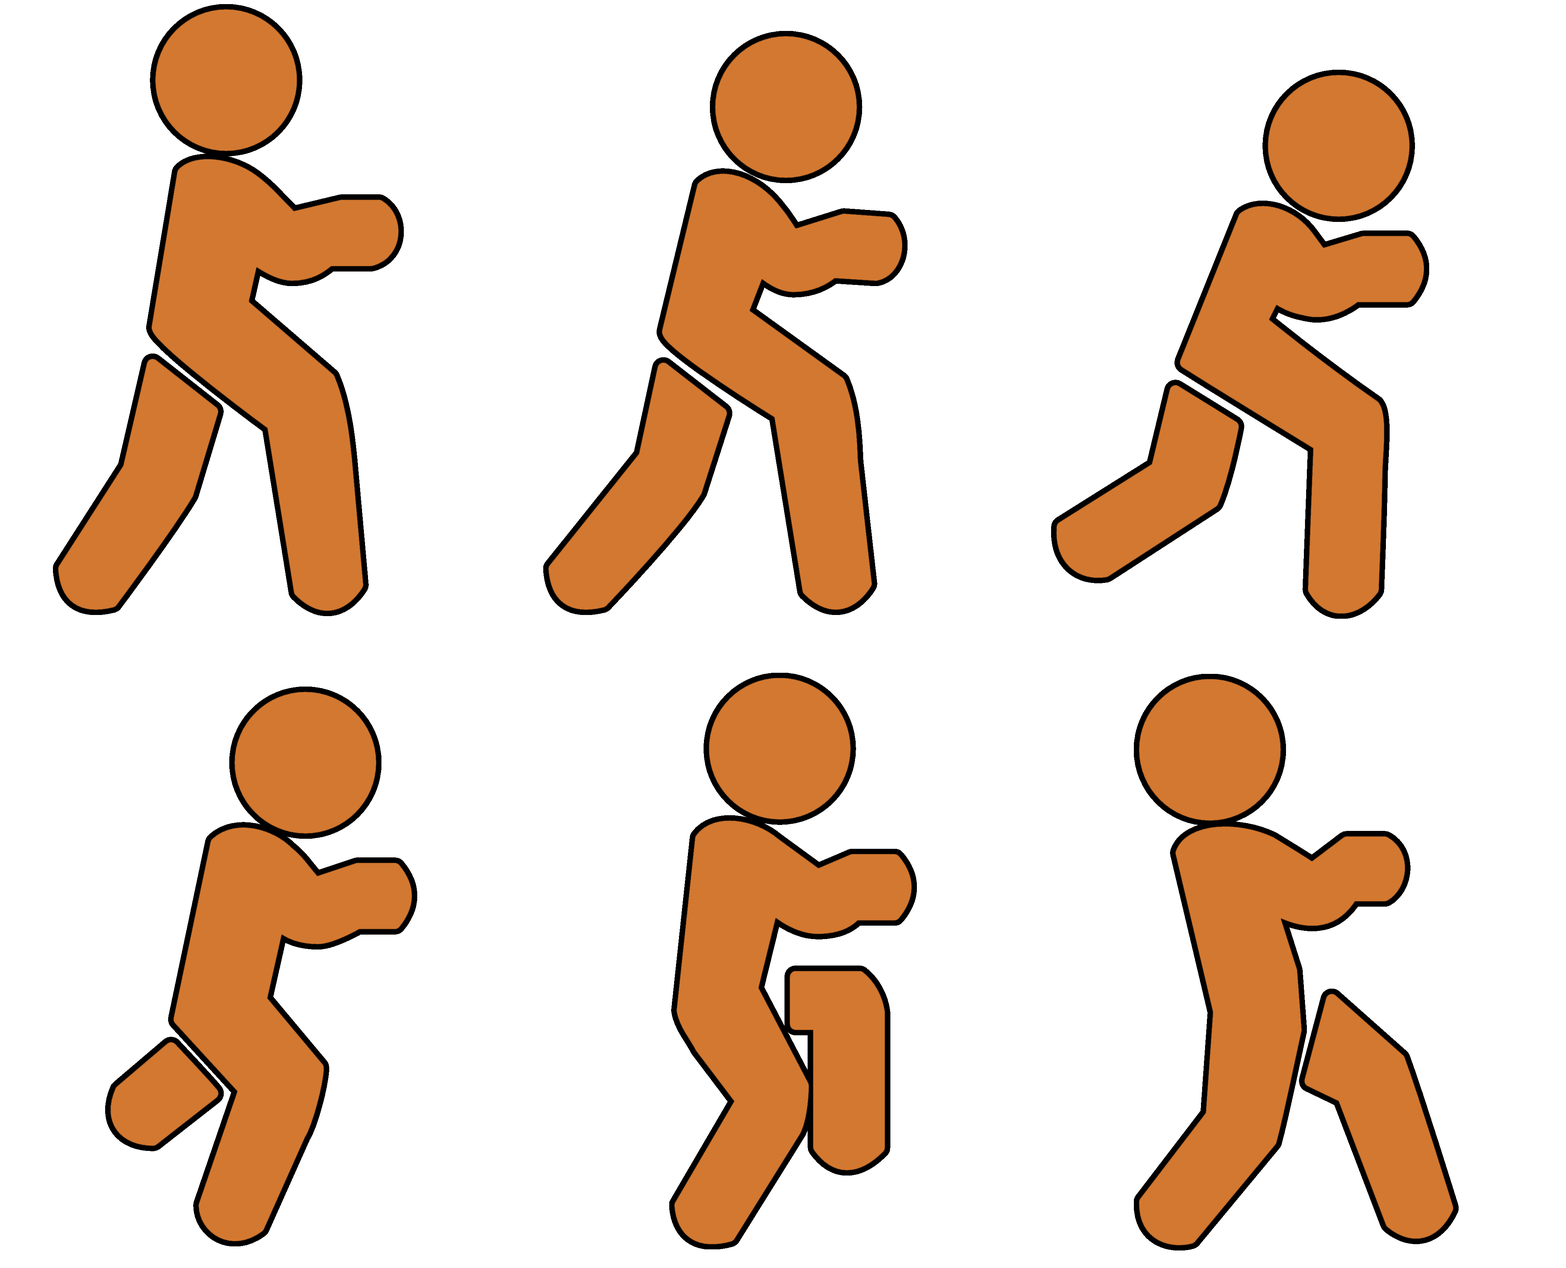
Use your own body to twist, turn, dodge, run, roll and crawl your way through threats and security - recreating a real assault course in your living room. Incredibly fun to both play and watch, and a real workout - track how much with Spy Stats.
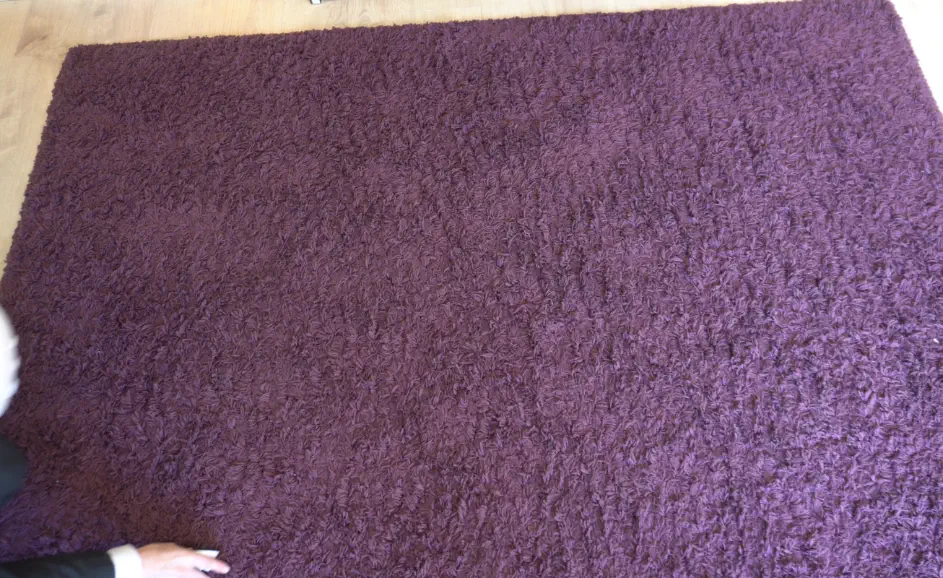
No matter if your space is big or small, UD2 has been designed to automatically fit your room with no compromises!

Unable to move quite so freely? Having to play seated? Unseen Diplomacy 2 has added optional locomotion, extra reach & bonus height, stance changing if you're unable to duck or crawl, and calming hands for tremors. Play how you need and without taking a single step forward if you wish.
New for Unseen Diplomacy 2 is the campaigns and missions! Choose where in the world to start, decide where to investigate and complete missions with differing challenging objectives. Success leads to new Intel which you use to narrow down who the evil-doer is, what they are trying to do, where and when they will do it - leading you to the final climax.
Manage and upgrade your spies while you avoid (or challenge!) the enemy counterspies chasing your team around the world. Be tactical where you place your spies, because there is a doomsday timer ticking! When you do start to narrow down where the final showdown will be, you will want a spy already there.
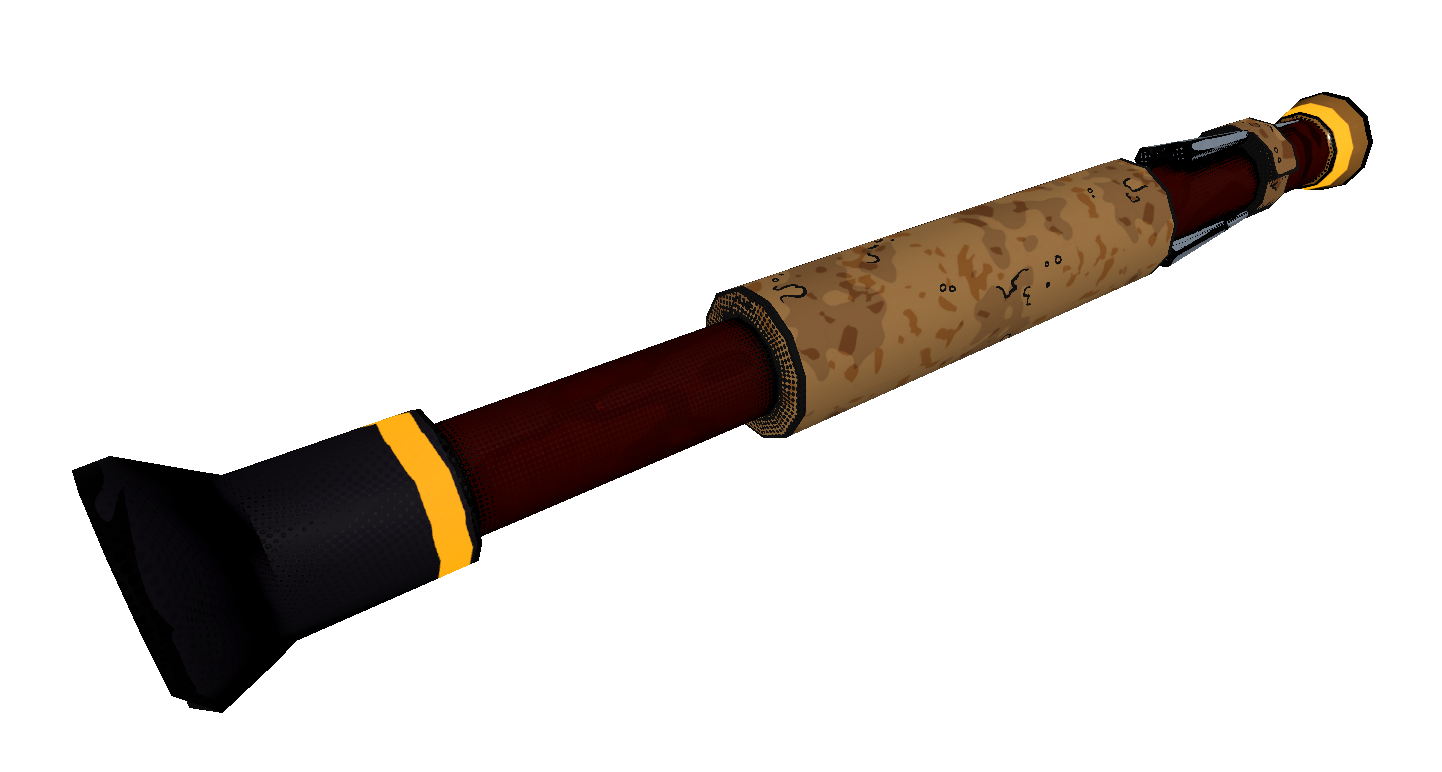
What's a spy without their gadgets? Make sure to choose the right type of tool for the job. No one wants the squeaky old wire clippers that catch the attention of the patrolling security bots! Unseen Diplomacy 2 takes inspiration from the 90's where every gadget was still a separate device rather than the modern mobile phones doing everything! You still get a Spy Watch of course, with all your objective information and access to in-mission support. Here's just a few more examples of the gadgets you'll need to use to save the world...
.png)
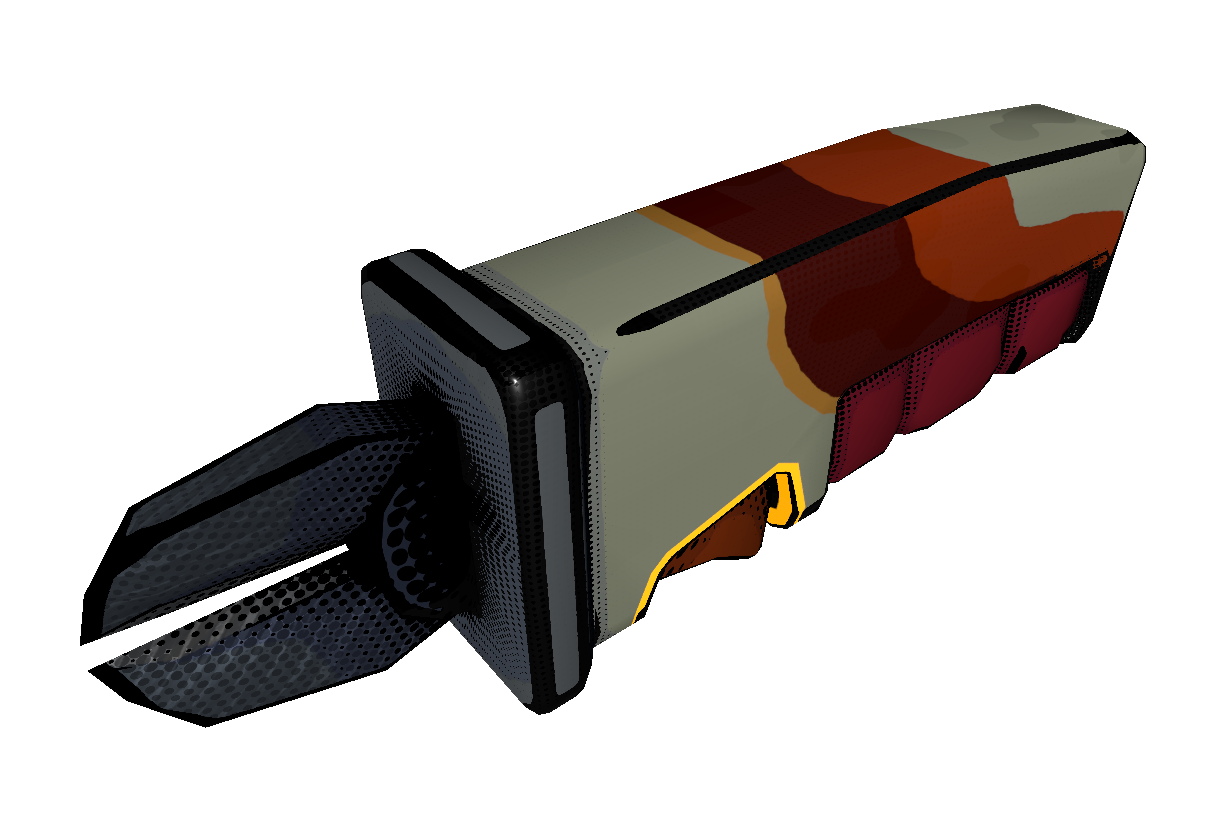
Spies need disguises! Find and choose which suits you and will fool the security, and find they each have their benefits and downsides. More pockets? More health? More sneaky? Choose your compromises and dress how you wish for the special occasion of Saving the World!

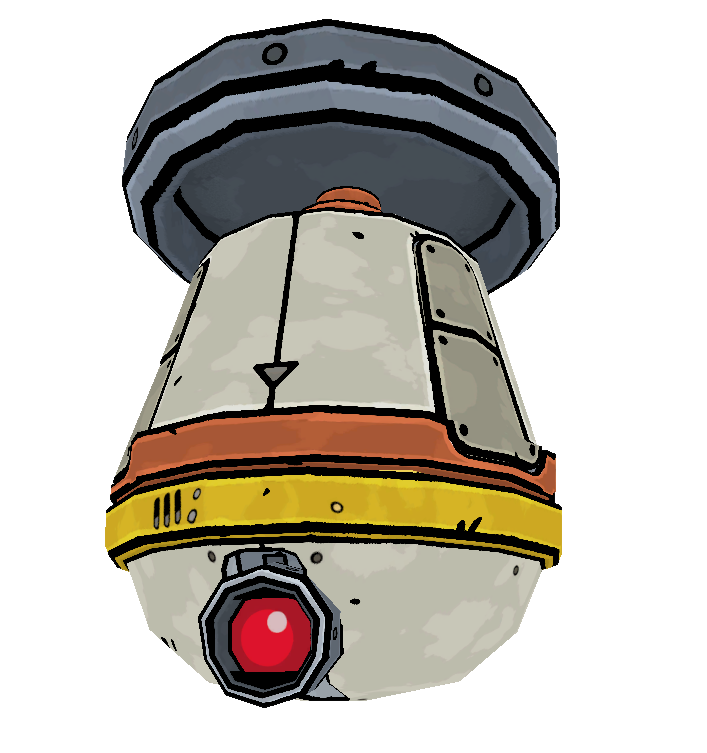
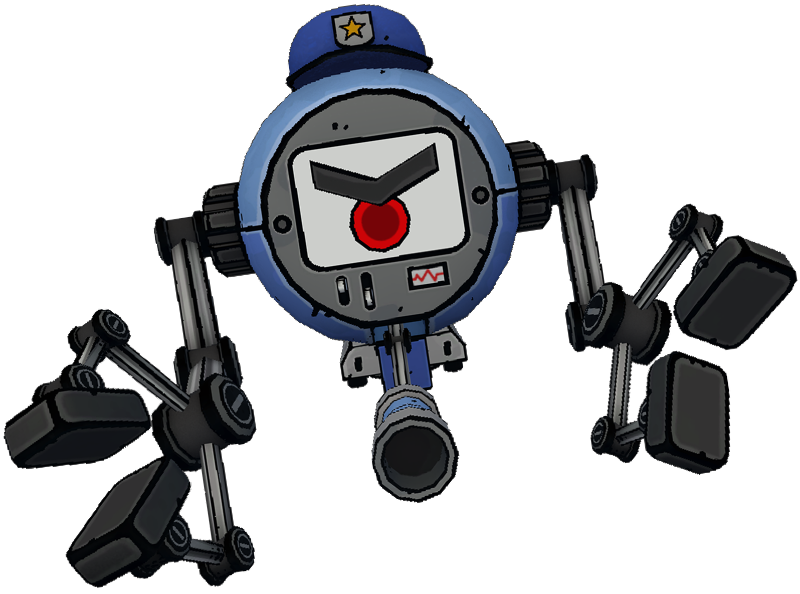
Security has their own new tricks to find and disable you. From bots that'll take your photo and report you, to the those that respond to alarms and shoot to kill, to the obstacles and threats that'll burn, pierce, slice or crush you. You will have to stay on your toes!
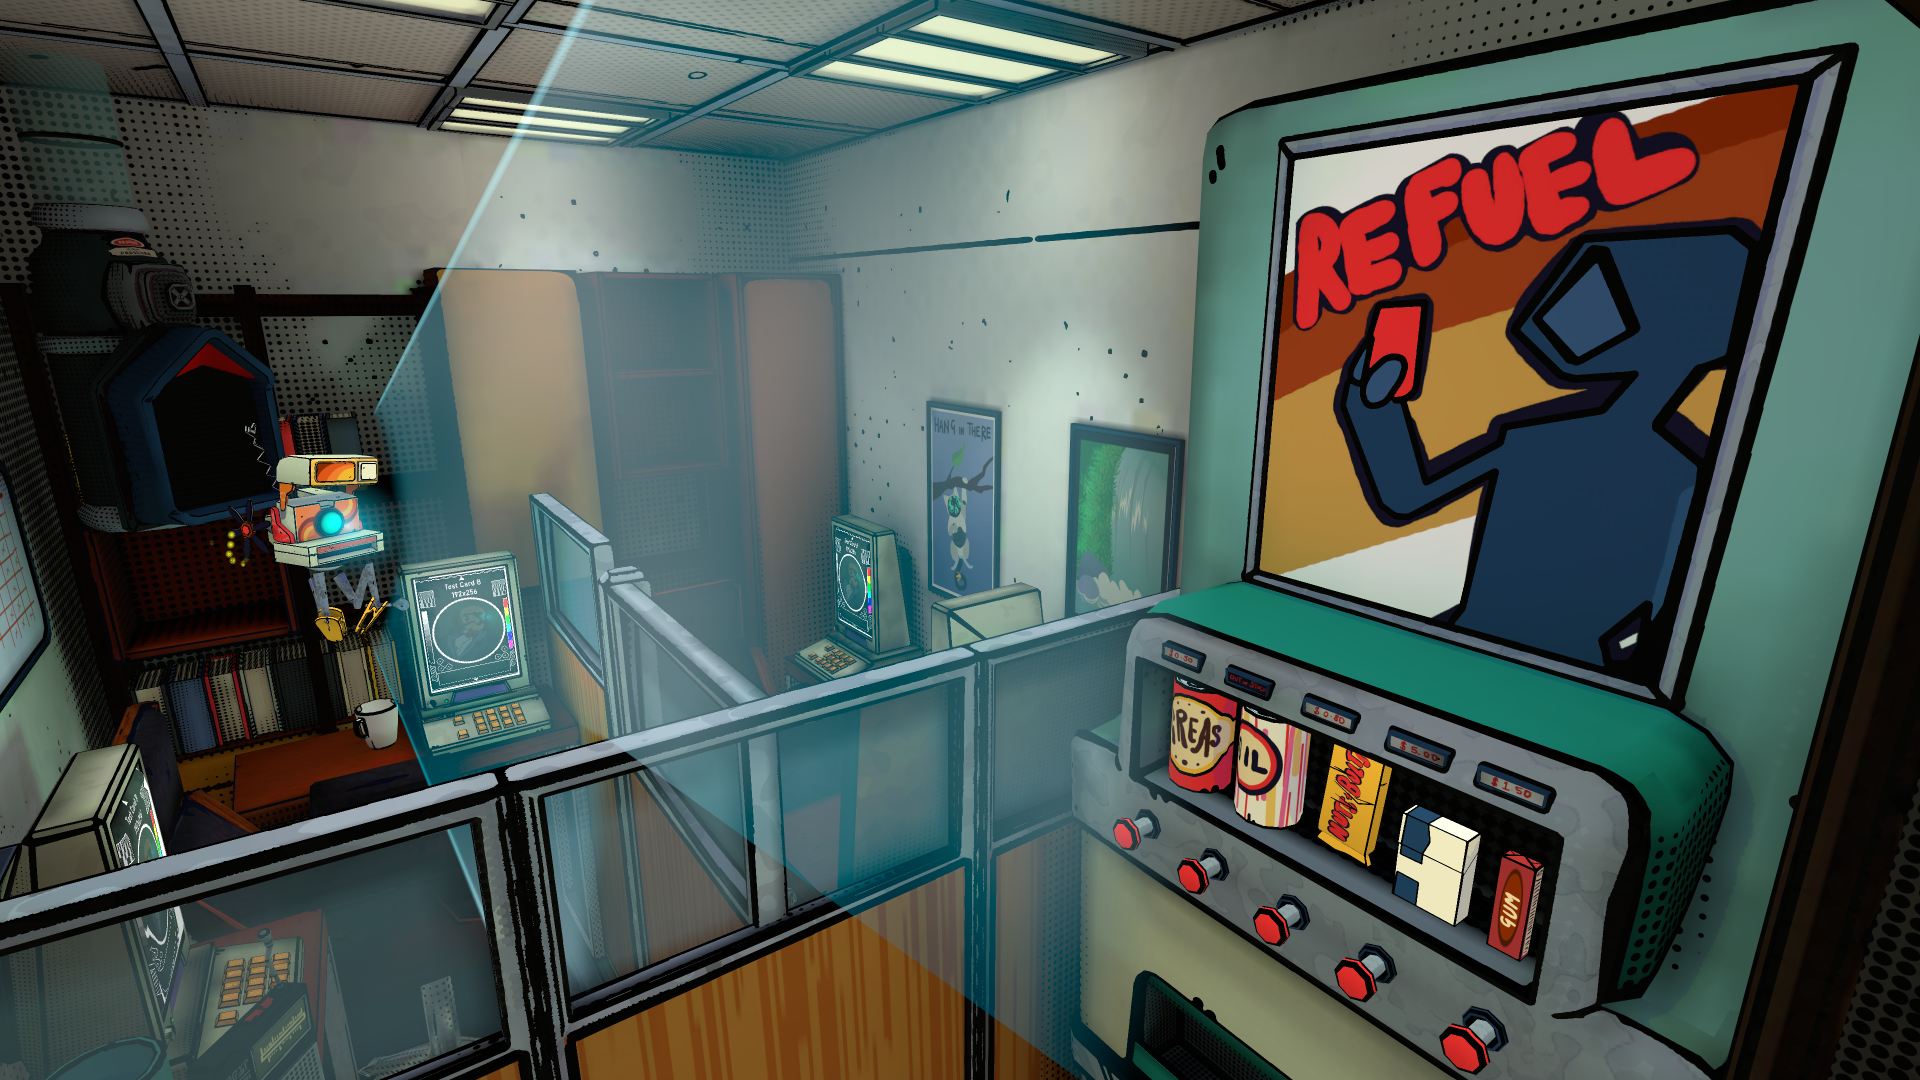
New for Unseen Diplomacy 2 is the campaigns and missions! Choose where in the world to start, decide where to investigate and complete missions with differing challenging objectives. Success leads to new Intel which you use to narrow down who the evil-doer is, what they are trying to do, where and when they will do it - leading you to the final climax.
Manage and upgrade your spies while you avoid (or challenge!) the enemy counterspies chasing your team around the world. Be tactical where you place your spies, because there is a doomsday timer ticking! When you do start to narrow down where the final showdown will be, you will want a spy already there.

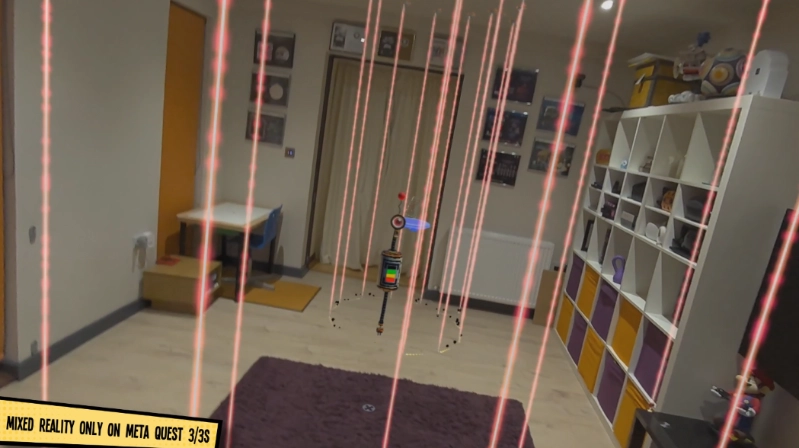
Exclusively on Meta Quest 3 and 3S, experience a ground-breaking Mixed Reality mode where your real-world space becomes the mission zone. Dodge deadly lasers, outsmart patrolling robots, avoid crushing traps, and stay one step ahead of danger as threats blend seamlessly into your surroundings. The world’s fate has never felt this real.
Unseen Diplomacy 2 is already a complete, playable spy adventure but we’ve launched in Early Access so we can polish, balance, and expand the experience together with our players. The roadmap below shows what we’re working on next: from fine-tuning mechanics and improving accessibility, to adding fresh missions, music, and content. Early Access isn’t about finishing the game - it’s about making it the best it can be!
Note that roadmap features are not guaranteed.
Trello sometimes has issues with embeds. If you can't see our roadmap board, please visit it directly


The original Unseen Diplomacy was a small game jam title that invented the environmental redirection. You walk yourself around the space and the level changes in front and behind you without you knowing - allowing you to feel as though you are exploring a massive level but all wrapped inside your own room. We wanted to encourage you to use the full volume of your VR space with running, dodging, crawling, rolling - and it be fun to watch others play. Being a game jam title, it was incredibly short, made with no budget or even artist support! It also required 3m x 4m to play.
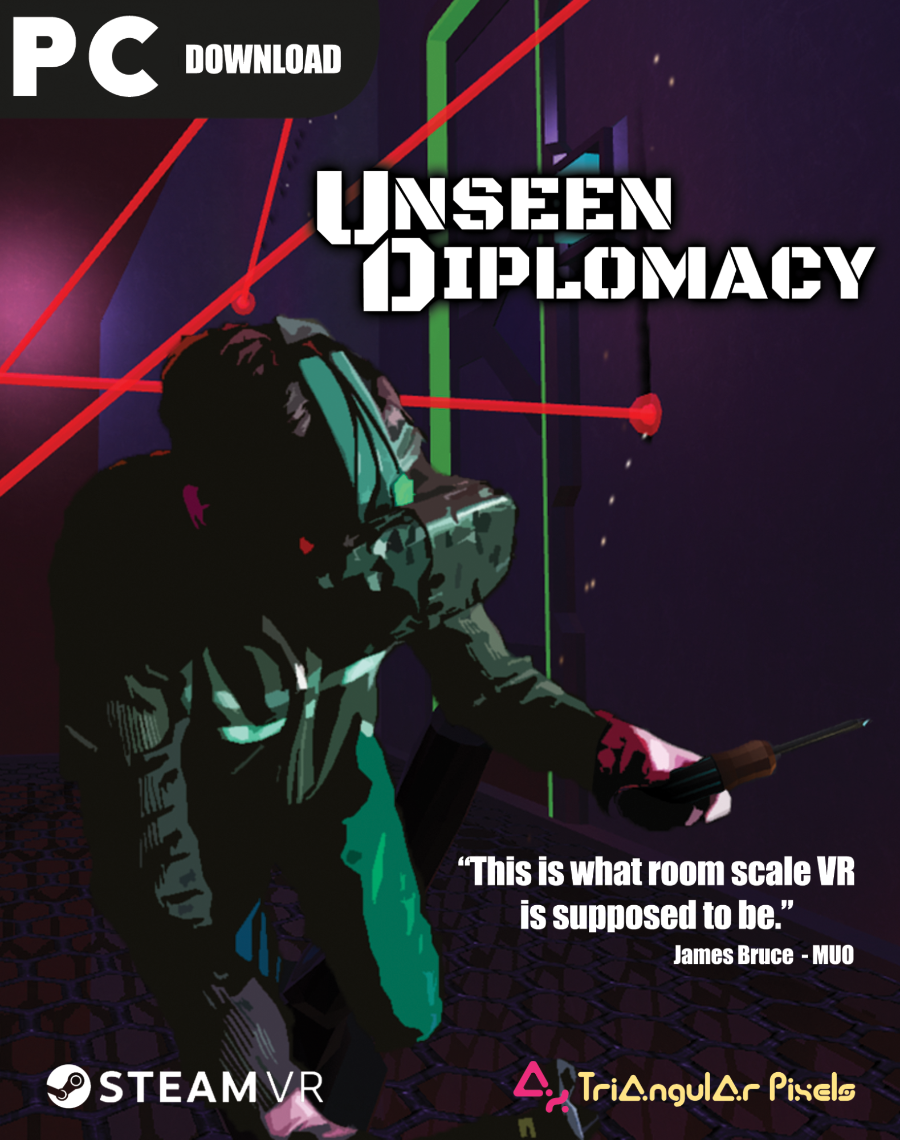
Building on the most innovative and thrilling aspects of the original Unseen Diplomacy, we’ve taken everything players loved and amped it up for Unseen Diplomacy 2. Guided by community feedback and expert design, we’ve refined the experience to focus on what players truly want—while adding plenty of surprising new twists along the way. This sequel is now a complete and full game, bigger, smarter, and more immersive, designed to push the limits of VR espionage action. We've added so much new! A campaign, progression, narrative, combat, characters, environments, gadgets, missions, objectives, accessibility and locomotion options, and of course - the ability to scale to your play space.